We have been studying nature since the very beginning of humankind. Many and many systems, machines, technologies and a lot of different areas, thrived when we turn our eyes to what is perfect, nature. Art is no different, by studying nature and using it as a reference, we can learn how to be better painters. Learning proportions, geometry, perspectives, colors, light, values and much more thanks to nature. Therefore, learning realism is the first step everyone needs to take. Absorbing art fundamentals and modifying it as you will after studying enough about what makes reality so real and perfect.
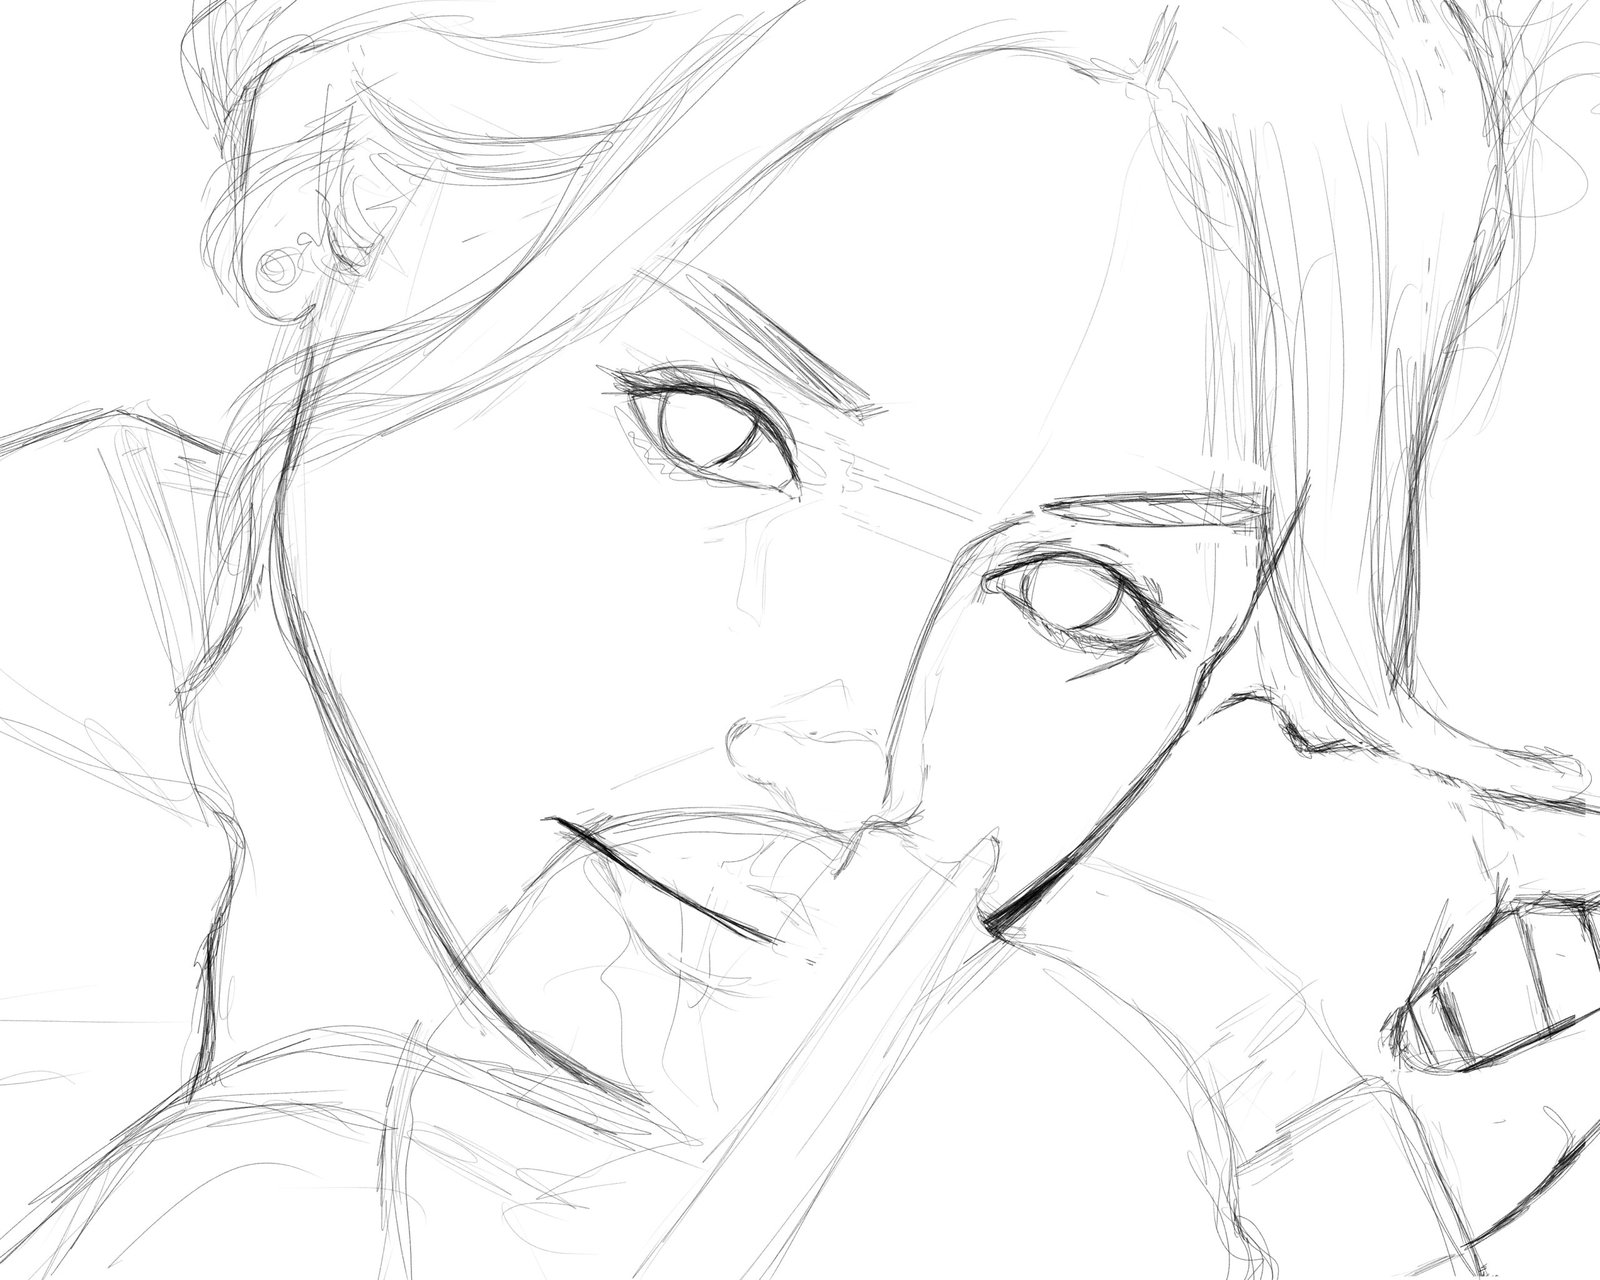
The very first step is a sketch. Each artist have their own way of sketching, some don’t even sketch at all. I am not on that level yet, so I draw a very “clean” sketch with thin lines to guide me through the other stages. I take some time on my sketches because I figured out that, if I don’t make a more “clean” and precise sketch, I will have to edit later, that can consume more time than the time it takes me to draw my sketch. Also, I leave my sketch on my final art pieces as a very transparent layer. Leaving my sketch at the end is more like a personal preference, I like how it looks on the final piece.
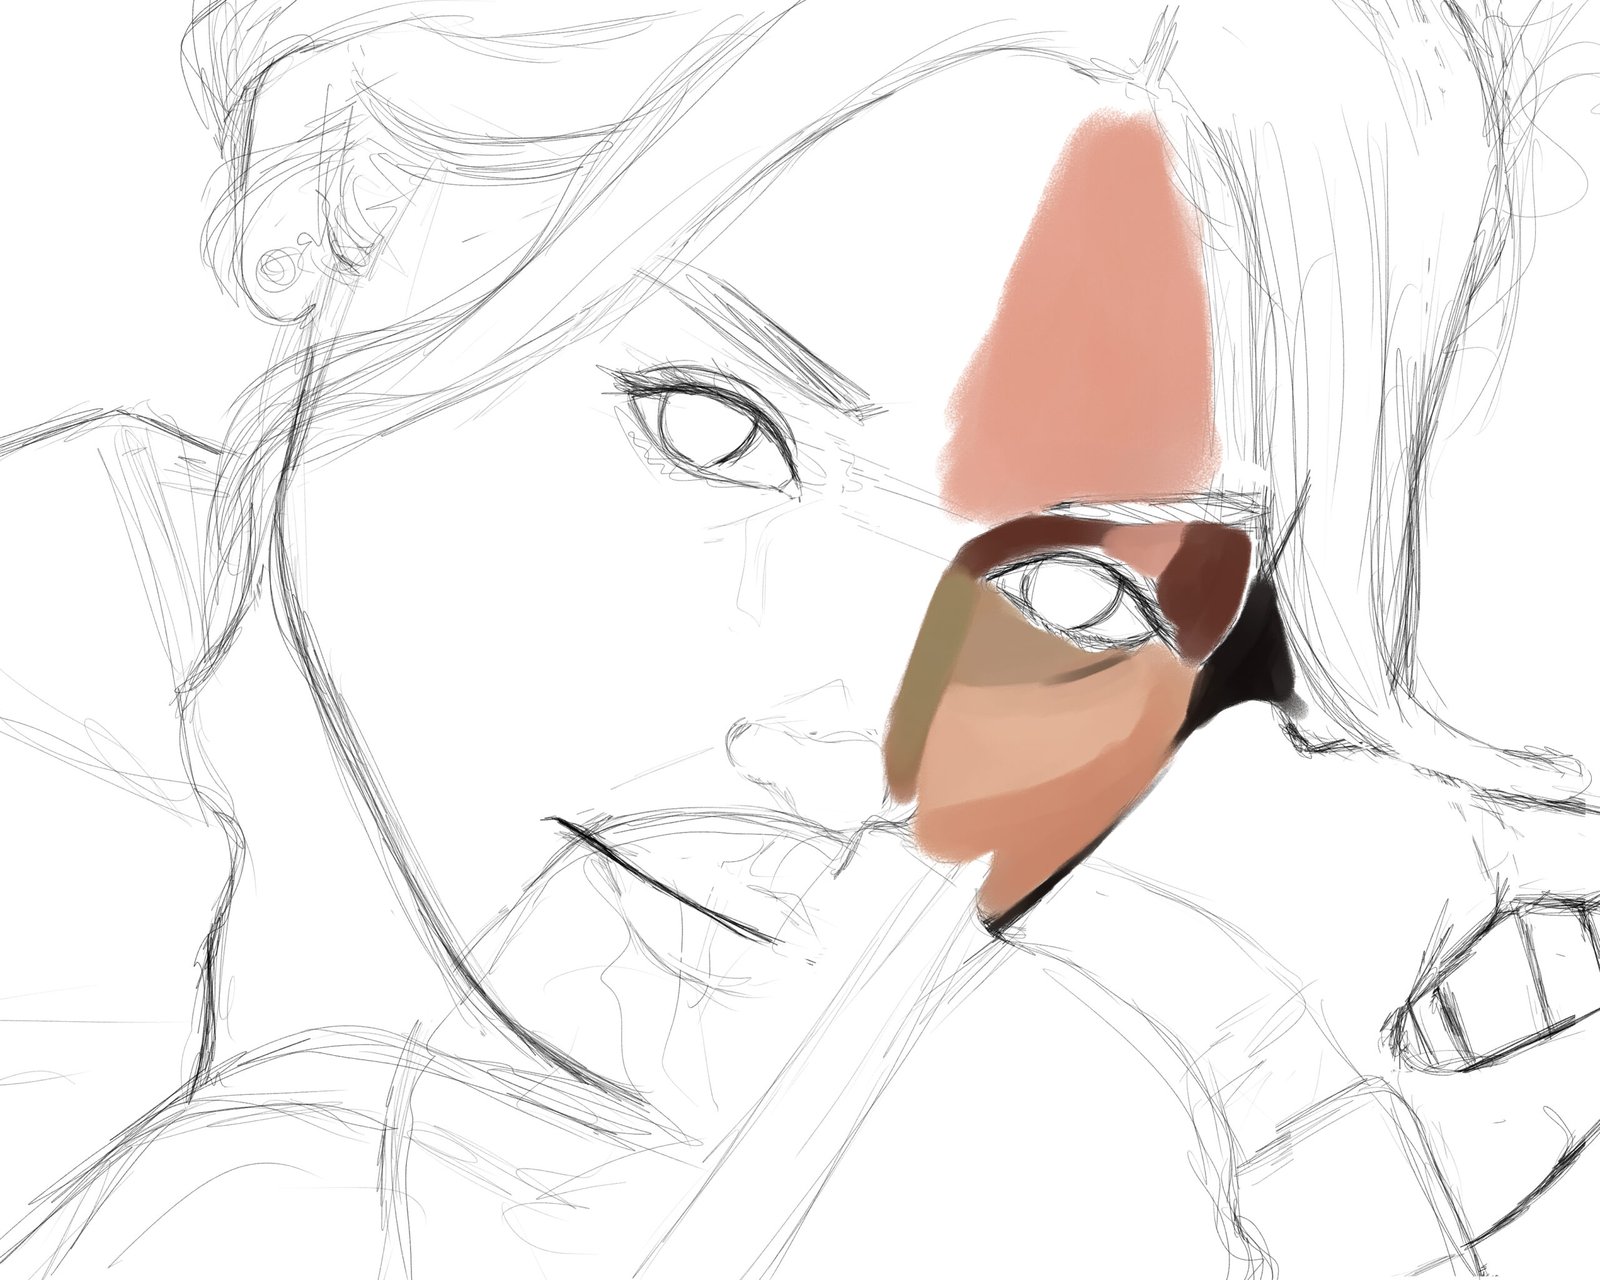
Usually I create a single flat layer and duplicate that to clip it on the layer below (I explain better on the stylized art process page), but for this artwork, I wanted to feel more “loose” and add colors on the spot as I see it on my reference photo, like a traditional paint, only one layer.
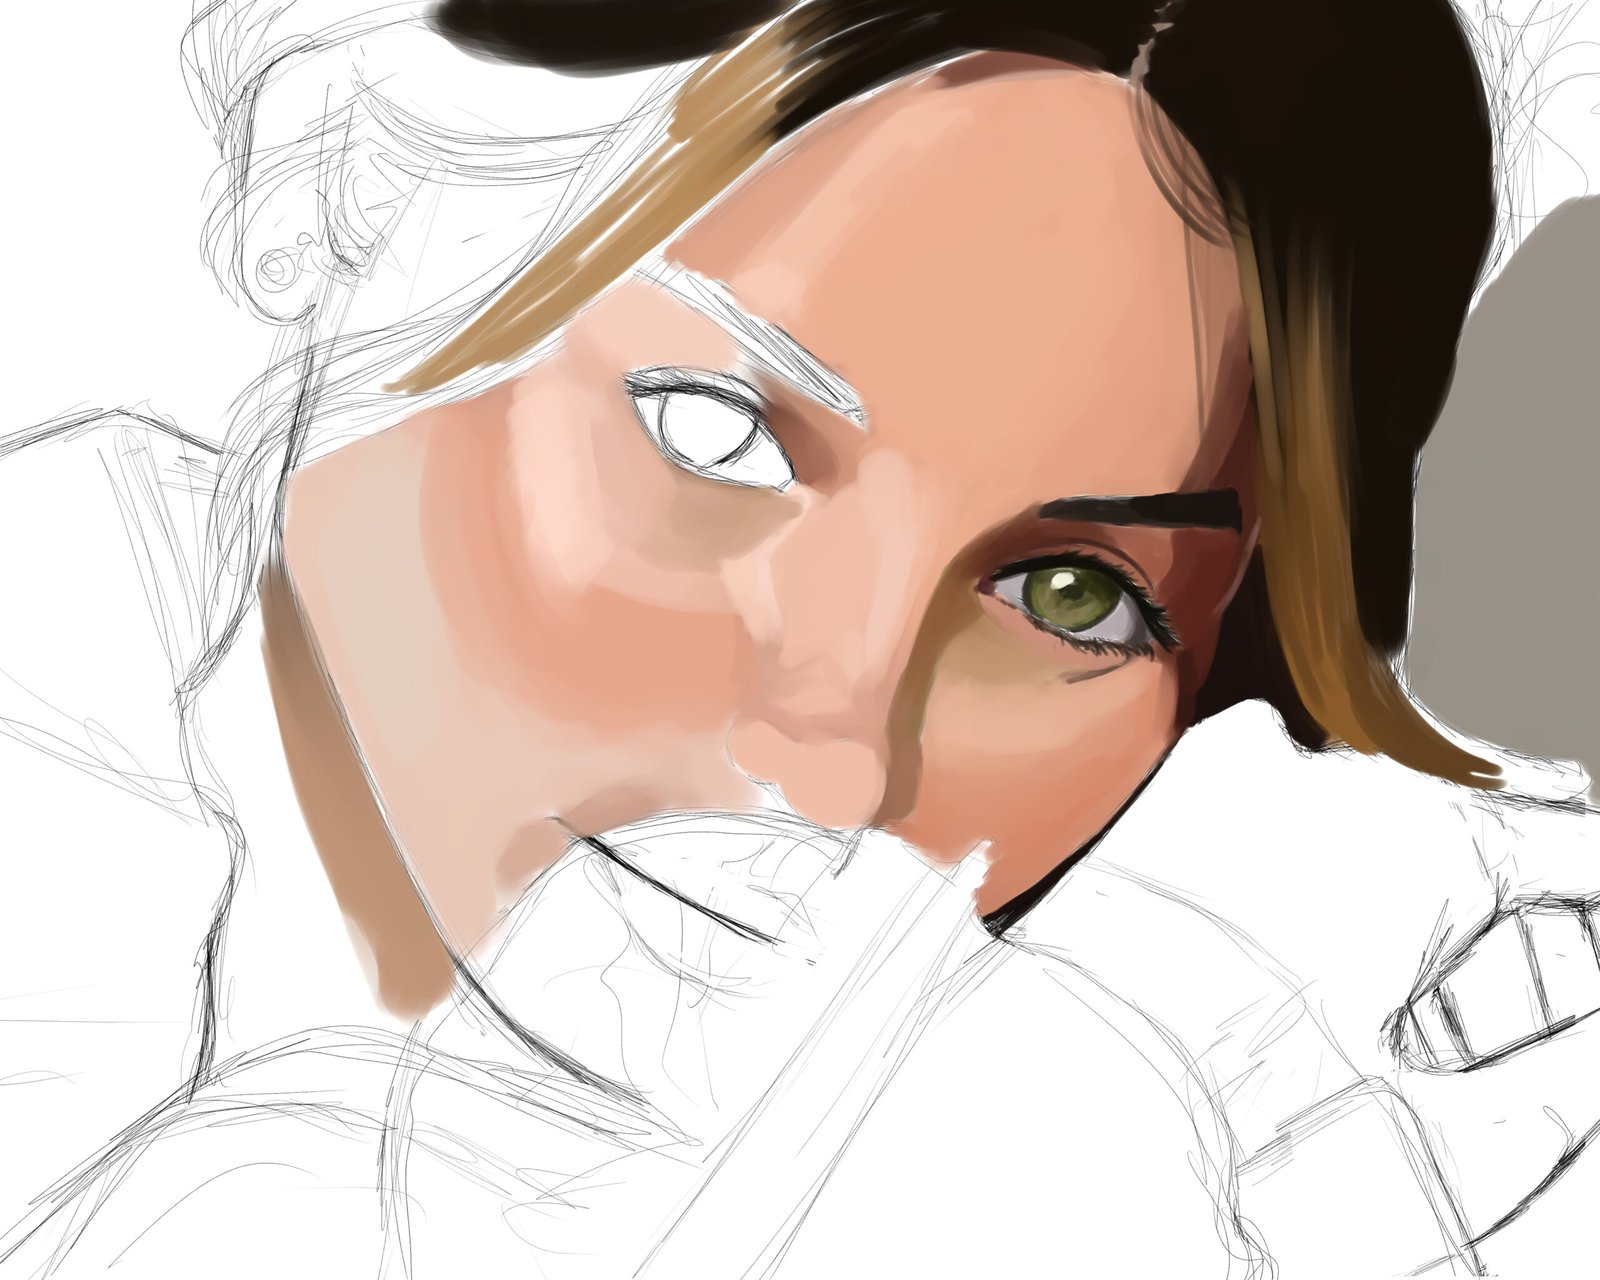
This artwork was very straightforward, just following the colors present on my reference photo, the tricky part is exactly that, adding the right colors to make it looks real. When you look to a complete photo, the colors are already there, mixed and blended together, creating the appearence of a smooth skin. When you are going to paint, you need to put colors close to the reference on the canvas and blend it, add different values and blend it again, rince and repeat, until you have a smooth looking skin color, like what is starting to happen on her left cheek. How to select the right colors requires a very long explanation, but in short, the more you paint and study, the more you notice that all skin tones have “rules” to how colors behave in certain weathers and light ambients.
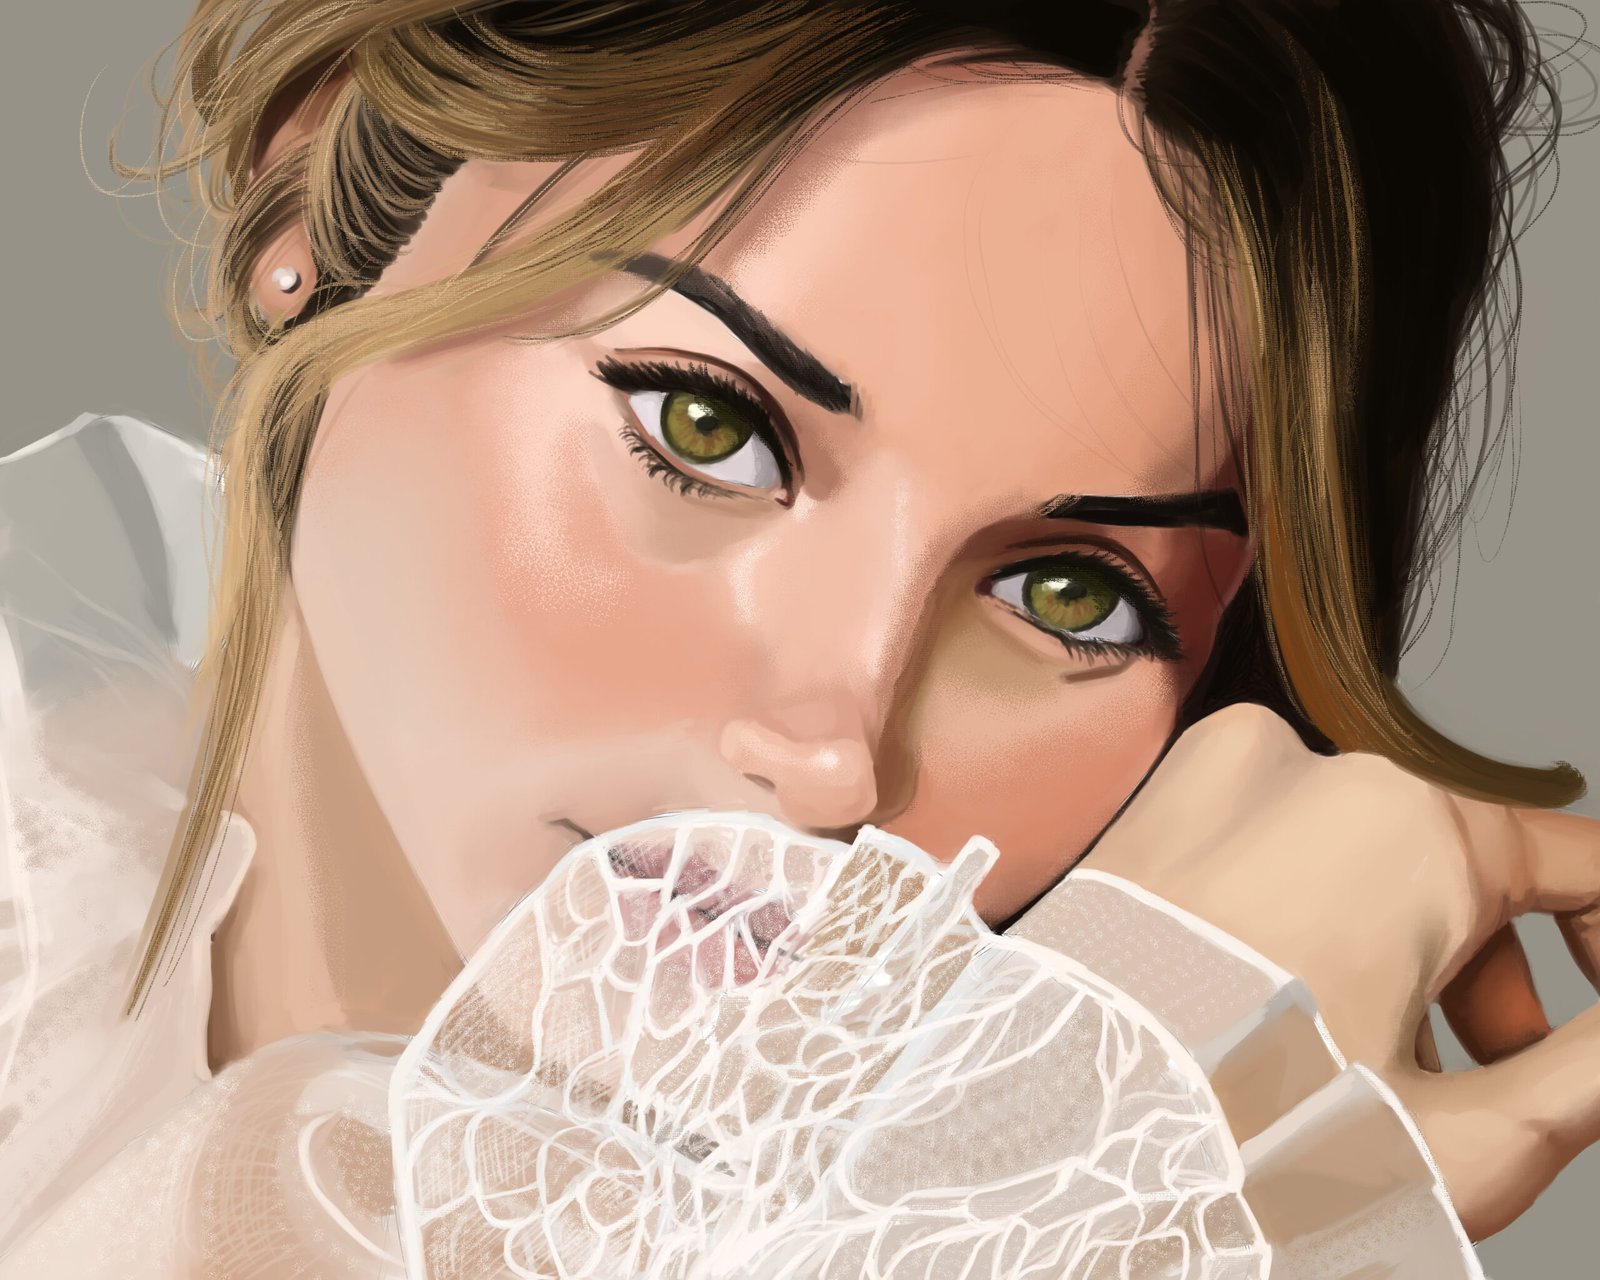
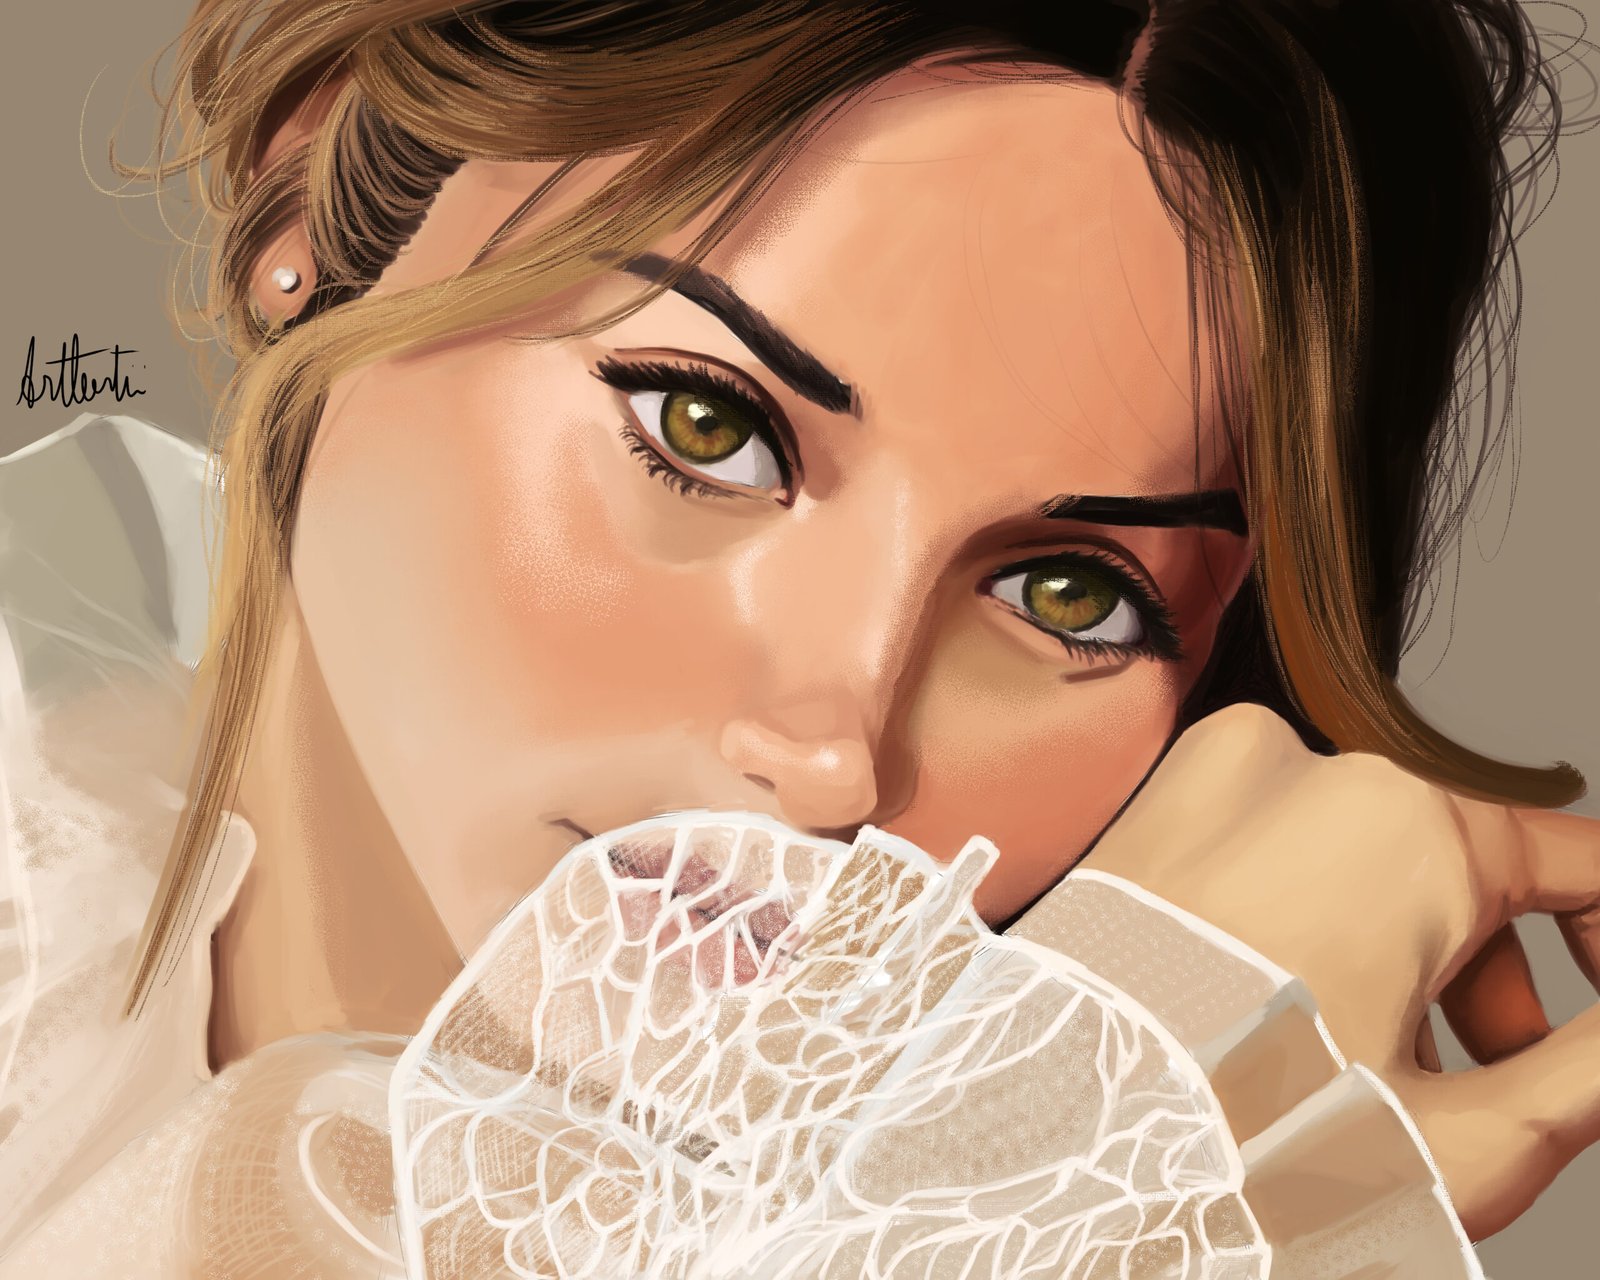
Since I was painting on a single layer, I forgot to duplicate different uncompleted versions of the paint to show more of it. Instead I simply finalized it, yhea, my bad. I followed the same steps as before, adding colors and values, blending, mixing, smoothing and repeating, until I feel good on how it looks. Her clothing was the hardest part of the paint because of the fabric. It’s a little bit transparent and the shapes aren’t very “friendly”. For these texture-like dots on her clothing, I used a cross hatching brush, so every single dot/ line you see on her fabric is a tiny little cross hatching that gave a nice effect on her cloth. For hair, I like to use a texture base brush. The oil paint brush was my choice since it is sharp and the texture on it makes it look like strings of hair. I can safely say that eyes and hair are the elements of the body that I like to paint the most.

As a final touch, I added a orangish 25% transparent color burn blending layer on top of my painting layer, just to make it look a little bit more saturated, like a warm sunset light hitting her face. I also made her eyes intentionally more saturated. Although humans have more dull eye colors, I wanted to make it more colorful just because I personally wanted to. After signing, the art is done.